Accounting - Inventory - Bookkeeping Management and ERP Solution Provider
Peniel Technology LLC is the best solution provider for ERP (Enterprise Resource Planning), CRM (Customer Resource Management) and HCM (Human Capital Management) and Accounting Software in UAE.
With more than 270,000 flourishing businesses in Dubai itself, we have our headquarters located in Dubai, aiming to cater to all their accounting and management requirements and also provide excellent support to all our customers.
Unlock Your Business's Financial Success!
Get Your FREE UAE Corporate Tax Guide Today!
Your Roadmap to Tax Excellence
Discover Our Comprehensive Guide to Corporate Tax in the UAE and Safeguard Your Business from Penalties!
Download Now

13+
Experience
Accounting and IT Solutions

Why Peniel Technology?
With Expert Team
- A one-stop-hub for all your Accounting, ERP, CRM and payroll needs.
- Provide cost-efficient mobility solutions
- Flawlessly embed new technologies to facilitate better governance.
- Focus on the customer for accelerated growth.
- Customized apps and software tuned to the needs of the customer
Accounting & Bookkeeping Trusted by 12000+ Customers
Elate CRM
CRM For Small Business
Elate CRM, is designed for businesses of all sizes with an easy-to-use user interface. It is very easy to use and includes key features like lead generation, contact and opportunity management and reporting.

Elate HRMS
Comprehensive HRMS Solution
Elate is one of the best HR software in UAE that eliminates manual practices and boost up your HR department. It has Payroll, Recruitment, Workflows, Calendars, Payment, Deduction and much more.

Elate POS
Retail POS System & Software
Elate POS System will allow you to enable specific discounts based on pieces, bills, payment modes, and other conditions that can be defined and controlled.

Elate QB Addins
Custom Tax-VAT Invoicing
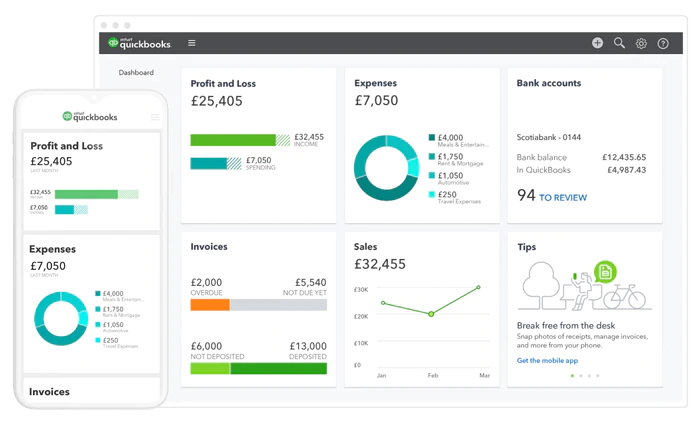
With the help of Elate QB Addins, you can create customized QuickBooks templates and print invoices automatically according to the local laws and guidelines from QuickBooks.

ERPNext
Official Partner for ERPNext
ERPNext is the world's top 100% open source ERP which supports manufacturing, distribution, retail, trading, services, education, non profits and healthcare.

Odoo
Official odoo Implementation Partner
Penieltech Technology is an official Odoo Partner, Dealer, Consultant and have an experienced team of odoo developers who are expert in providing odoo ERP, CRM solutions, Odoo implementation, Odoo customization & development services in Dubai, UAE, Abu Dhabi, Oman, Bahrain, and the Middle East.


We Prepare Startups For Accelerators
Our services
As a pioneer IT solutions firm, we provide accounting, Trading, Invoicing, bookkeeping and management software solutions for all your business requirements. Additionally, we provide software customization, software development according to the necessities of our clients. We also provide hardware equipment for your office along with its installation and demo. All the necessary training for our products is also given by us so that you can start your duties on a fast pace. We also develop eye-catching websites at request for your business.
We are Official Partners of
- Tally ERP 9 (or TallyPrime) with expert consultants
- QuickBooks makes your invoicing process smooth
- Sage Accounting Software saves your time in accounting
- ERPNext all-in-one inclusive ERP software solution
- Odoo Development automates all business processes
- Fortinet secures your system
Our support
Our Clients


I have been deal with Peniel technology since more than Eight years , they providing us a lot of IT services and solutions , really they amazing IT Services provider and we appreciate their services
CFO- GHI Group

I personally found no other company given this solution on the web/ online. Truly this solution works 100%. The team work until the project is done.
Director - Hassan Mahmood General Trading WLL

I have been deal with Peinel technology since more than Eight years , they providing us a lot of IT services and solutions , really they amazing IT Services provider and we appreciate their services

It is happy to say Peniel Technology's services are beyond anything I could have imagined, it gets my highest recommendation.
CFO - Al Thuriah Group

With Elate CRM, we are able to effectively deal with sales enquiries, create proposals and do follow up. I'd recommend other businesses to buy this.

It is happy to say Peniel Technology's services are beyond anything I could have imagined, it gets my highest recommendation.
CFO - Al Thuriah Group

Nullam lectus neque, imperdiet fringilla purus mattis consequat mauris curabitur neca pellentesque.


